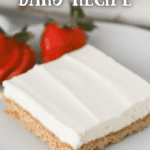
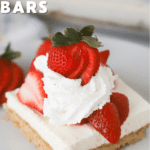
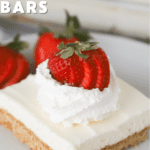

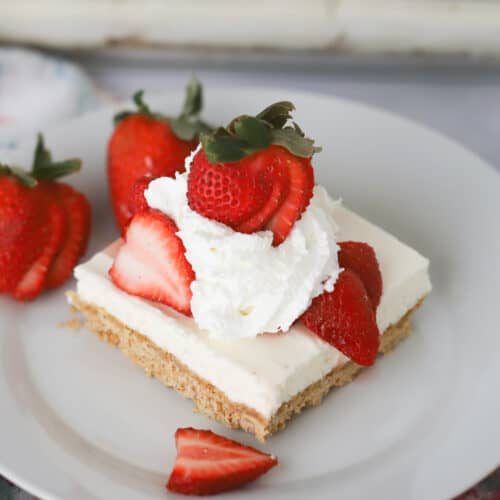
These No Bake Cheesecake Bars are smooth and creamy with a buttery graham cracker crust. Finish them off with fruit, jam, caramel sauce or any of your favorite toppings.
This recipe makes a 9″ x 13″ pan of no bake cheesecake that can be cut into bars or squares. You can leave them as is or decorate with fruits, sauces, jams, candies, sprinkles, and more.
No Bake Cheesecake Bars
No matter what time of year, these cheesecake bars are always a great idea. They’re a perfect easy dessert to make for a crowd because there is no oven involved and you can cut each bar as small or large as you’d like.
Email This Recipe
Get a link to this recipe emailed so you can save it for later + get all the latest Carefree Kitchen recipes!
By submitting this form you consent to receive emails from The Carefree Kitchen
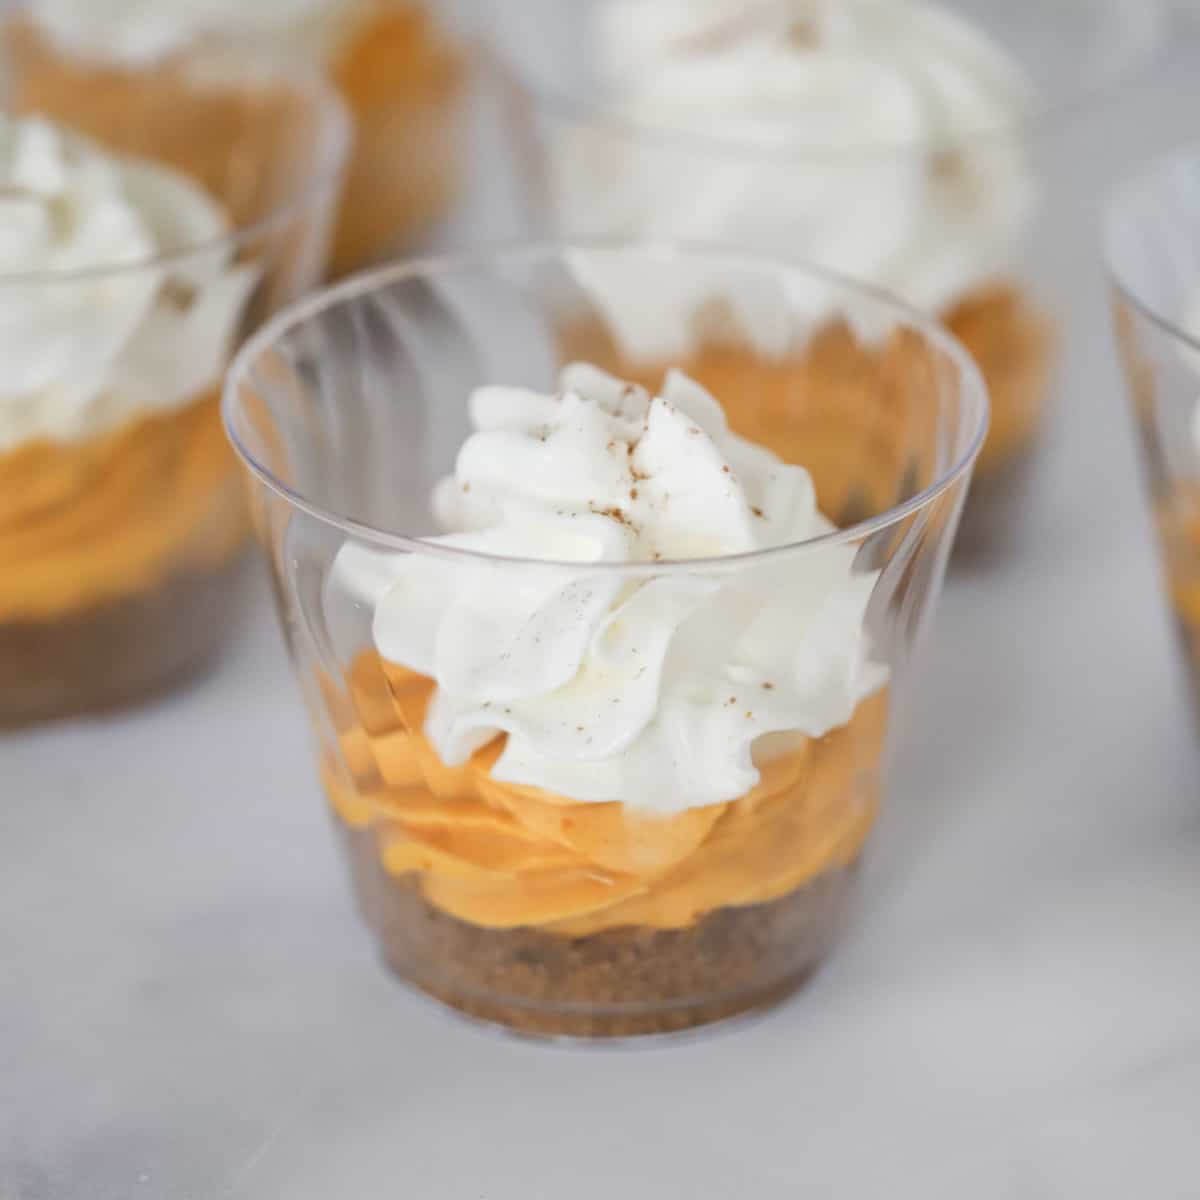
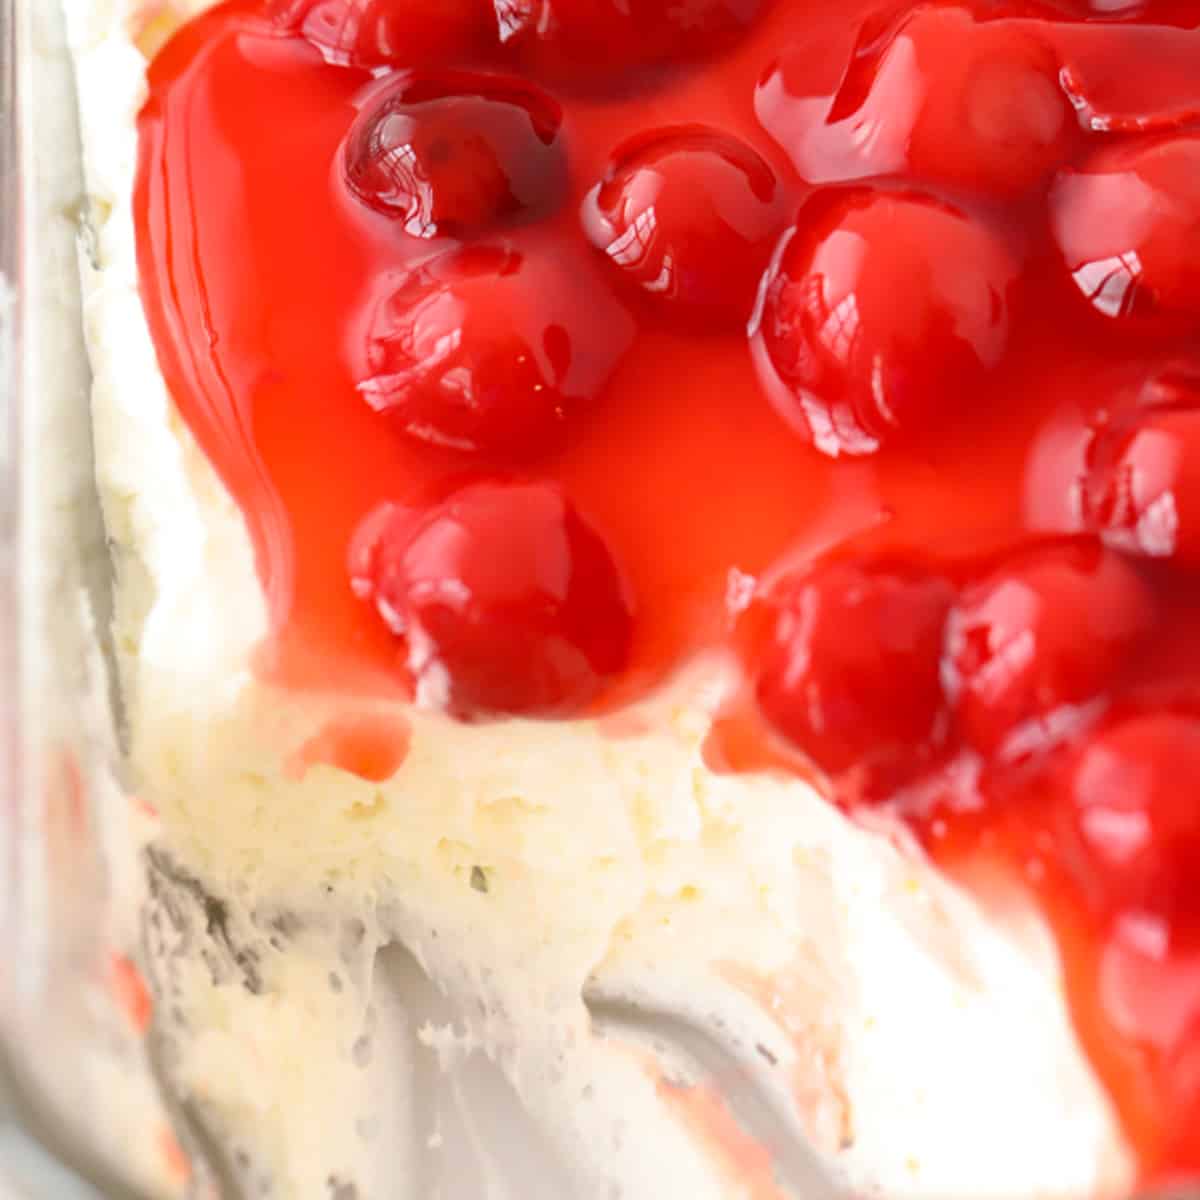
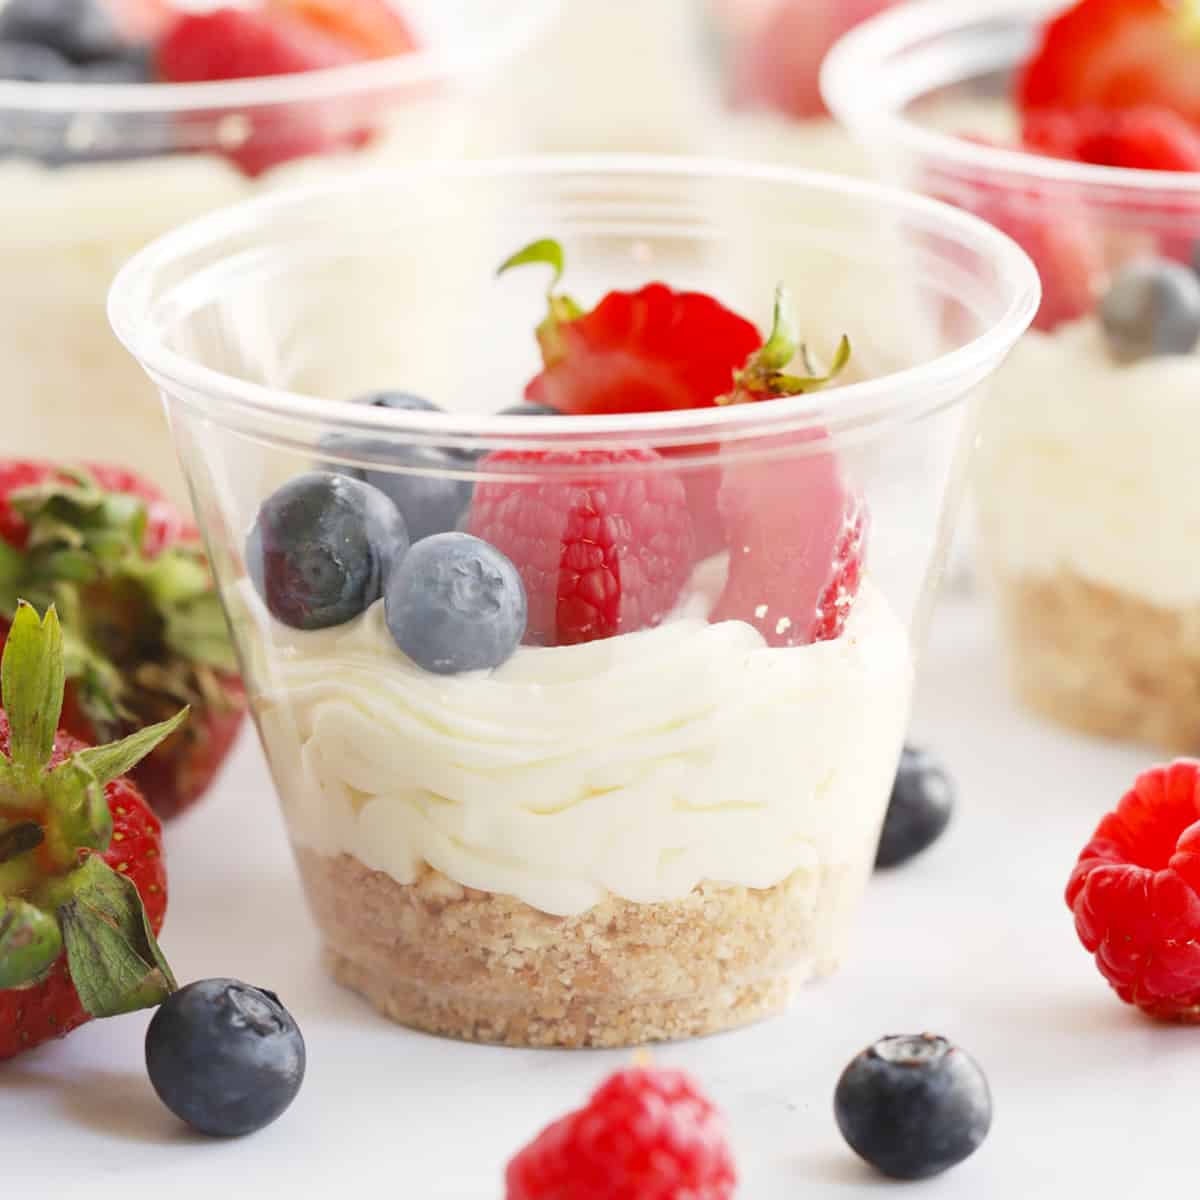
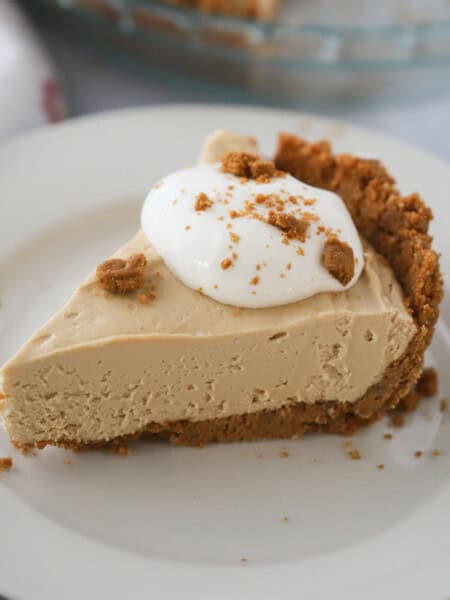
Depending on the season, you can top cheesecakes with fresh or macerated fruit, jams and compotes, crushed candy bars or cookies, chocolate sauce, caramel sauce, whipped cream and so much more. Just think of this recipe as a blank slate that you can customize however you’d like.
Cheesecake bars are perfect for baby showers, holiday parties, summer get togethers – you name it. And if you’re in the mood for chocolate, be sure to try our Chocolate Cheesecake Bars too.
Key Ingredients
- Butter – you’ll need melted butter to help hold the crust together. For this recipe, you can use either salted or unsalted butter.
- Graham Cracker Crumbs – to crush the graham crackers, either pulse them in a food processor or put in a freezer bag and crush them with a rolling pin.
- Sugar – we use granulated sugar for the crust. For a slightly different flavor, brown sugar could be used instead.
- Cream Cheese – make sure your cream cheese is at room temperature so it mixes well with the rest of the cheesecake filling. If you forget to pull it out ahead of time, you can warm it in the microwave for about 10 seconds at a time just until soft.
- Heavy Whipping Cream – this really helps to lighten the cheesecake bars. Be sure your cream is cold before you try and whip it.
- Sour Cream – this adds a great tangy flavor and keeps the filling extra creamy. You can use either full fat or lite.
- Powdered Sugar – we like to use powdered sugar for the filling because it gives it sweetness without any grit.
How to Make No Bake Cheesecake Bars
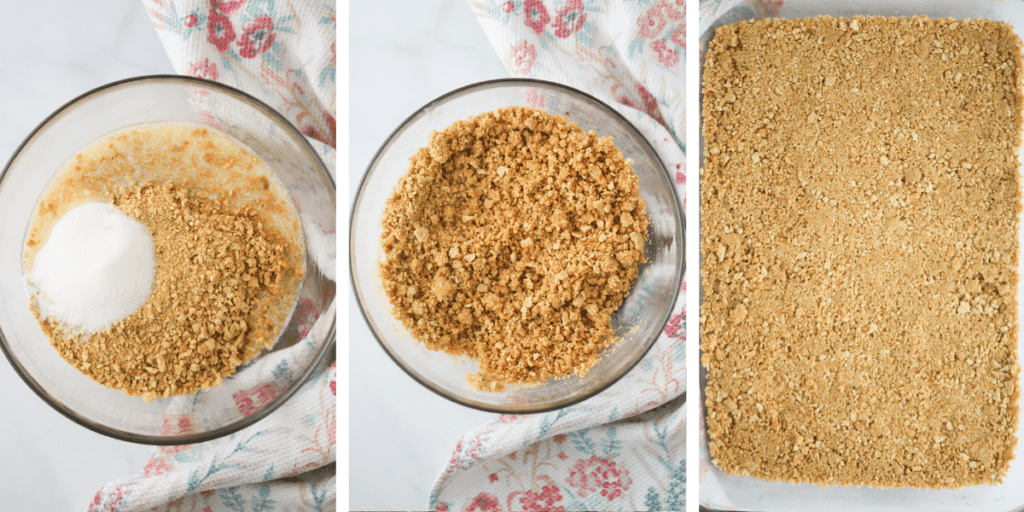
- Make the crust. In a medium bowl, combine melted butter, graham cracker crumbs and sugar. Mix well until none of the mixture looks dry. Press the mixture firmly into a 9″ by 13″ baking pan, then place in the freezer for at least 1 hour to firm up.
- Whip the cream. Pour heavy whipping cream into the bowl of a stand mixer (or mixing bowl with an electric mixer) and whip until soft peaks form. Set aside.
- Make the cheesecake filling. In a separate bowl, beat the cream cheese using the paddle attachment until soft and fluffy, or about 2 minutes. Add the powdered sugar and vanilla extract to the cream cheese and mix on low until incorporated. Increase the speed to high and beat until fluffy. Once the mixture is fluffy again, gently fold in the sour cream and whipped cream using a rubber spatula.
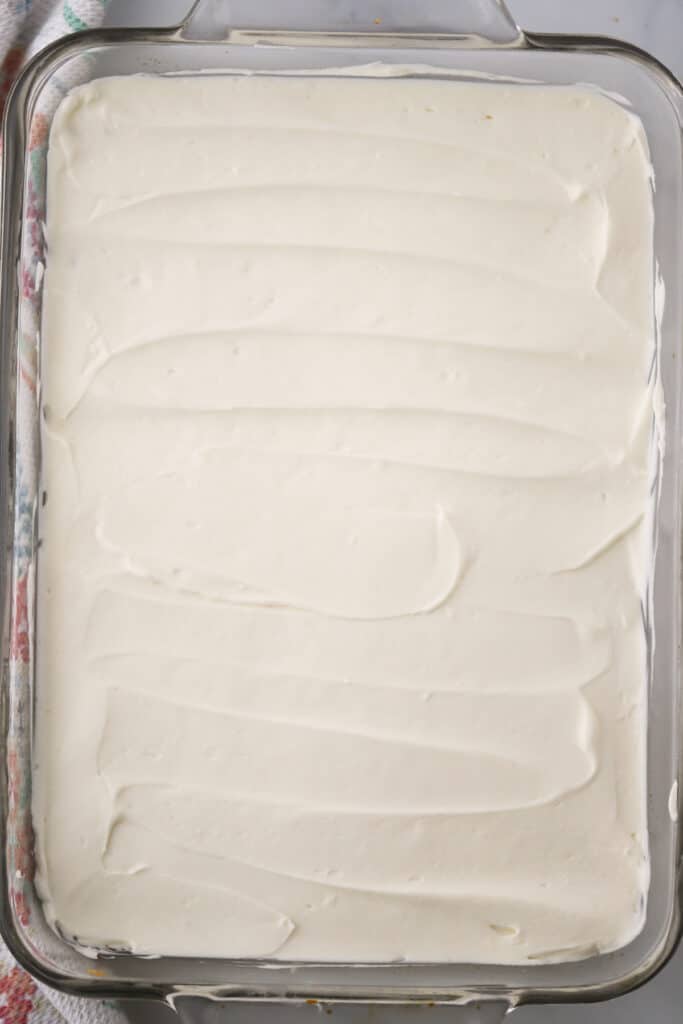
- Spread filling over the crust. Pour the cheesecake mixture evenly over the prepared graham cracker crust and gently spread using an offset spatula.
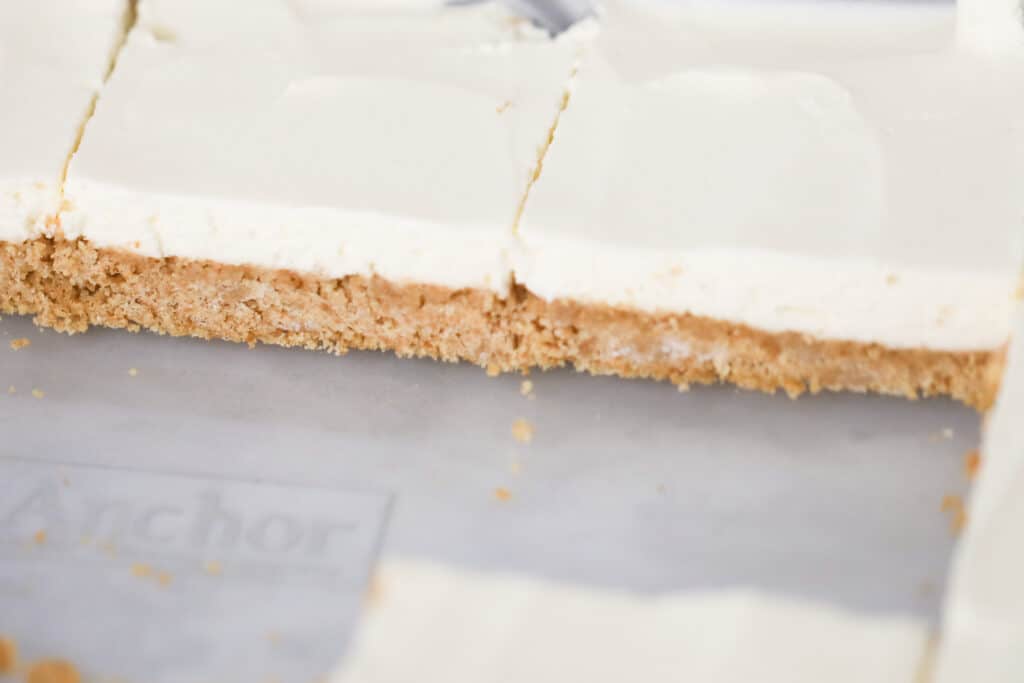
- Chill. Refrigerate for at least 2 hours before using a sharp knife to cut into individual servings. Enjoy!

Frequently Asked Questions
Your cheesecake bars should last up to 4 days as long as they are covered and stored in the refrigerator.
The first culprit might be measuring incorrectly. If you are certain that you measured everything right, another reason could be that your ingredients were too warm when you mixed them. If your whipped cream didn’t whip enough, or if your cream cheese melted instead of softened, you may find yourself with soggy cheesecake bars.
We recommend a minimum of 2 hours in order to let the filling firm up completely.
Yes! The best way to freeze them is to toss in the freezer for about 30 minutes – 1 hour, or until the filling is firmed up, then cover carefully with plastic wrap and foil and store frozen for up to 2 months.
Storing Instructions
- Refrigerator: your cheesecake bars should be lightly wrapped in plastic wrap, or covered with a lid if you had one, and stored in the fridge for up to 4 days.
- Freezer: if you plan to freeze them, let them firm up in the freezer for about 30 minutes, then remove and cover with plastic wrap or foil. Return to the freezer and store for up to 2 months.
No Bake Cheesecake Bars Recipe
Ingredients
Graham Cracker Crust
- 1/2 cup butter, melted
- 9½ ounces graham crackers, crushed
- 1/4 cup sugar
No-Bake Cheesecake
- 1 cup heavy whipping cream, whipped
- 16 ounces cream cheese, room temperature
- ¼ cup sour cream
- 1 ¼ cups powdered sugar
- 2 tablespoons vanilla extract
Instructions
Graham Cracker Crust
- In a medium bowl, combine melted butter, graham cracker crumbs, and sugar. Mix well until none of the mixture looks dry.
- Press firmly into a 9" by 13" baking pan, then place in the freezer for at least 1 hour to firm up*.
No-Bake Cheesecake
- Pour heavy whipping cream into the bowl of a stand mixer and whip until soft peaks form. Set aside.
- In a separate bowl, beat the cream cheese using the paddle attachment until soft and fluffy, or about 2 minutes. Add the powdered sugar and vanilla extract to the cream cheese and mix on low until incorporated. Increase the speed to high and beat until fluffy.
- Once the mixture is fluffy again, gently fold in the sour cream and whipped cream using a rubber spatula. Pour the cheesecake mixture evenly over the prepared graham cracker crust and gently spread using an offset spatula.
- Refrigerate for at least 2 hours before cutting into individual servings. Enjoy!
Video
Notes
Nutrition
Did you make this?
Don’t forget to leave a rating below and make sure to follow on Pinterest, Instagram and Tiktok for more!
More Easy No Bake Dessert Recipes
- Easy No Bake Cheesecake
- Lemon Raspberry Parfait
- Chocolate Oreo Parfait
- No-Bake Chocolate Cheesecake Dip
- Buckeye Dip
- Berry Trifle with Pound Cake
- No-Bake Orange Creamsicle Cheesecake
- No-Bake Chocolate Cheesecake
- More No-Bake Desserts
- More of the Best No-Bake Cookies
These No Bake Cheesecake Bars are rich, creamy and perfect for a crowd of any size. Top with any of your favorite fruits, jams, cookies, chocolate sauce and more.
Categories:
4th of July, Cookie Bars, Desserts, Fall Recipes, No-Bake, Nut-Free, Spring Recipes, Summer Recipes, Thanksgiving, Vegetarian, Winter Recipes,