

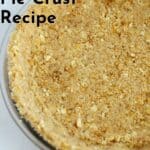


This Nilla Wafer Pie Crust uses store-bought Nilla Wafers cookies in place of graham crackers for a fun and tasty twist on the classic. It’s a sweet and buttery pie crust that’s great for holding all sorts of your favorite baked and no-bake pies and cheesecakes.
You can bake the crust, or use this recipe to make a completely no bake cheesecake crust or pie crust. Simply freeze the crust for at least 1 hour before filling. If you’re looking for some more fun variations, try our Oreo Pie Crust, Gingersnap Pie Crust and our Biscoff Cookie Pie Crust.
Nilla Wafer Pie Crust
It’s always nice to have options and this vanilla wafer pie crust is a great one to have in your back pocket. It takes just about 10 minutes to throw together and tastes great with basically any pie or cheesecake filling that you would normally pair with a graham cracker crust.
Email This Recipe
Get a link to this recipe emailed so you can save it for later + get all the latest Carefree Kitchen recipes!
By submitting this form you consent to receive emails from The Carefree Kitchen
We recommend going the “baked” route if you have the time because the end result will be far less crumbly. However, if you are short on time and plan to fill with something that will be served super cold, you can skip the par-baking altogether and toss in the freezer for a completely no-bake dessert.
Depending on the filling, we will sometimes toss in a few tablespoons of finely chopped pecans or walnuts for a little something special. But, nuts or no nuts, this homemade pie crust is a total hit and couldn’t be more simple.
Ingredients You Will Need
- Nilla Wafers – for this recipe you will need about 2/3 of a box of cookies. Sometimes, you can also get lucky and find these pre-crushed.
- Sugar – you’ll need regular white granulated sugar.
- Butter – we like to use salted butter to add just a touch of salt to the flavor. You can melt either in the microwave or a pot on the stovetop.
- Cinnamon – this is completely optional.
How to Make this Nilla Wafers Crust
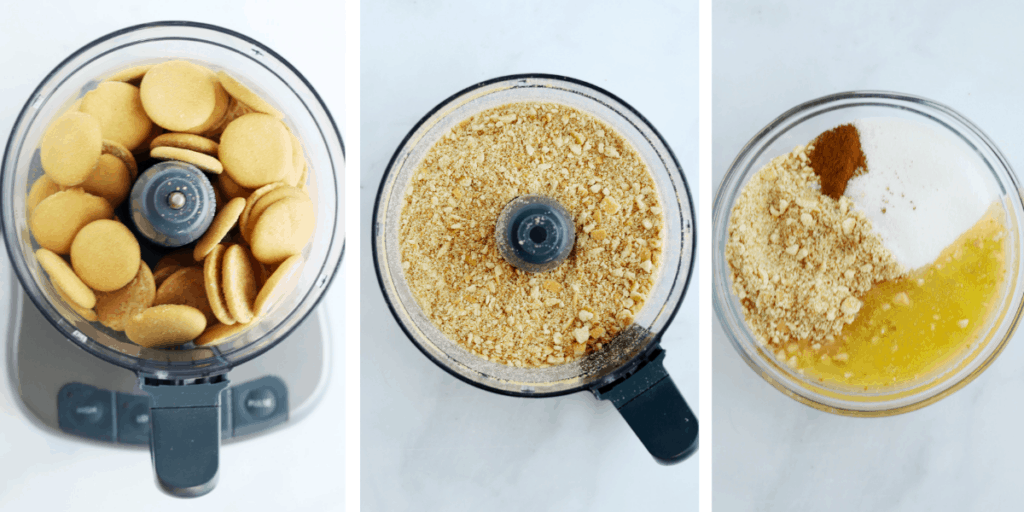
- Process the Nilla Wafers. Using a food processor, pulse the Nilla Wafers until they form fine crumbs.
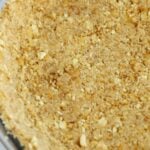
- Mix the ingredients. Transfer to a bowl and add the sugar, melted butter and cinnamon (optional). Mix well until the mixture resembles wet sand and keeps its shape when squeezed in your hand.
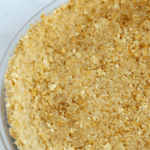
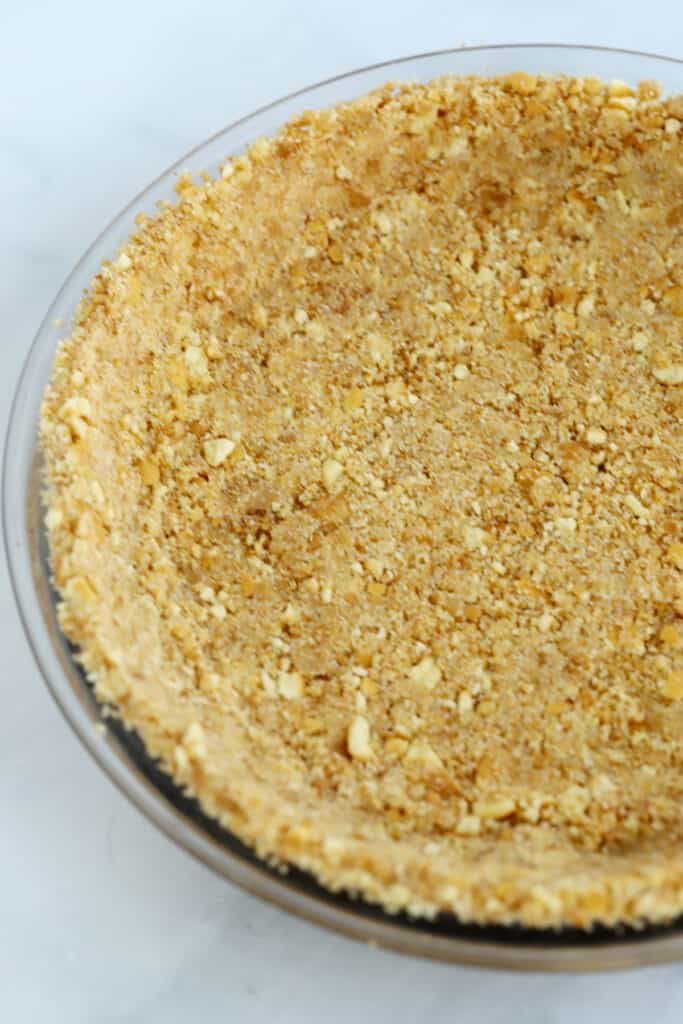
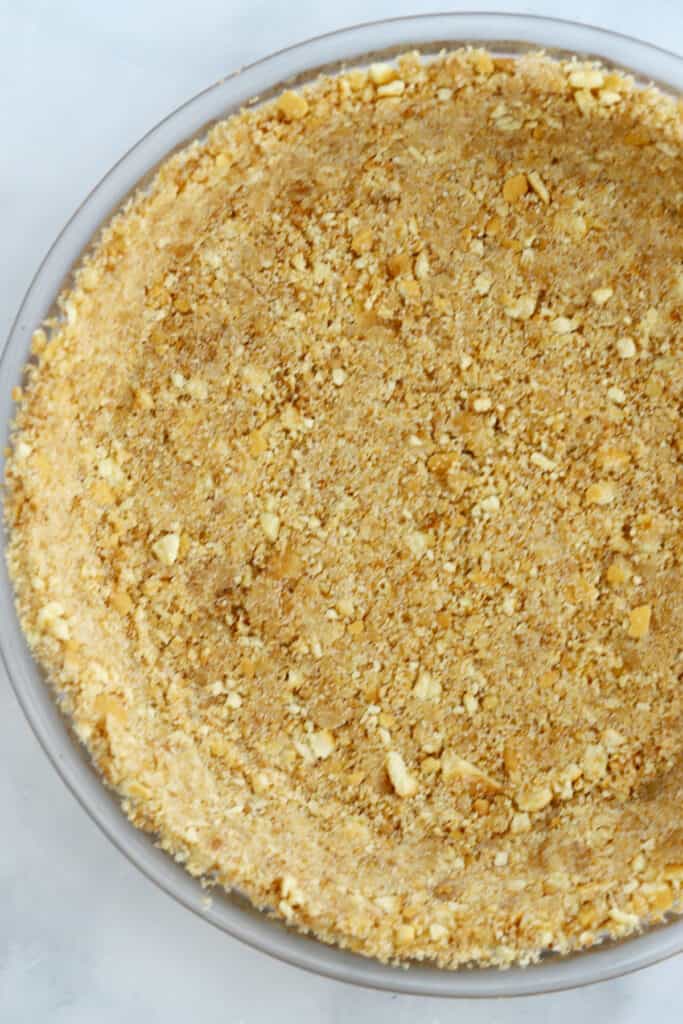
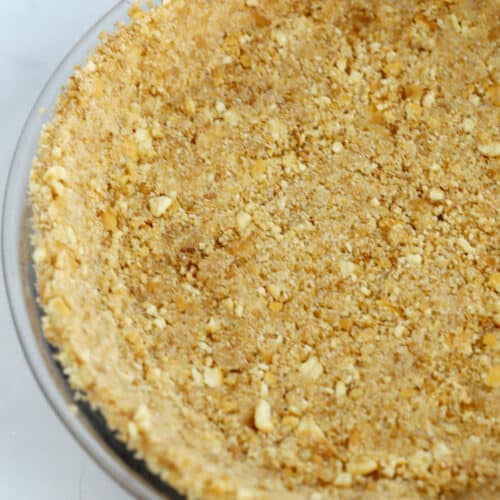
- Press into a 9” pie dish. Scoop the mixture into a 9″ pie plate and press it in evenly, getting the sides even and then pressing the remaining crumbs into the bottom. You can use the back of a spoon, flat bottom of a measuring cup or even you hands.
- Bake and cool. Bake in a preheated oven for 12-14 minutes, or until it becomes very lightly golden brown. Remove from the oven and cool completely before using. Enjoy!
Recipe Variations
Here are a few simple variations that will work with all sorts of flavors of pies and cheesecakes:
- Chocolate: Substitute some of the Nilla wafers with chocolate wafer cookies or add cocoa powder to the crust mixture.
- Coconut: Add toasted shredded coconut to the crust mixture.
- Lemon: Mix lemon zest into the crust mixture to add a bright, citrusy flavor that pairs well with fillings like lemon meringue or key lime pie.
- Gingersnap: Combine crushed gingersnap cookies with Nilla wafers for a spicy and slightly sweet crust that complements pumpkin or sweet potato pie fillings.
- Maple Pecan: Add maple syrup to the crust mixture and incorporate chopped pecans for a rich and indulgent crust perfect for fall.
- Salted Caramel: Drizzle melted caramel over the crust before baking and sprinkle with a touch of sea salt.
Frequently Asked Questions
You can use this pie crust for any pie or cheesecake where you would normally use a graham cracker or other cookie crust. Some of our favorite fillings to use include:
Orange Creamsicle Cheesecake
No-Bake Chocolate Cheesecake
Banana Cream Pie
No-Bake Nutella Cheesecake
Key Lime Pie
No-Bake Pumpkin Cheesecake
If you are using a no-bake pie or cheesecake filling and you want to make a truly no-bake dessert, you can freeze the formed Nilla Wafer Pie Crust rather than baking it in the oven. Place in the freezer for at least 30 minutes (or up to 1 month) before adding your desired no-bake filling.
This method firms up the butter, allowing you to pour in your filling without the crust falling apart and is recommended for pies or cheesecakes that are meant to be served very cold. Once you have added the filling, finish the recipe as directed in the recipe for whichever no-bake dessert you are making, and enjoy!
Storing Instructions
- Freezer: The best way to store this Nilla Wafer Pie Crust is in the freezer. You can store the unbaked crust for up to 1 month as long as it is wrapped well with plastic and aluminum foil. To use, simply remove from the freezer, add your filling and let it set up (or bake) as directed in the recipe you have chosen.
Nilla Wafer Pie Crust Recipe
Ingredients
- 1 ½ cups Nilla Wafers, crushed (about 2/3 of a box)
- 1/3 cup sugar
- 5 tablespoons salted butter, melted
- ½ teaspoon cinnamon
Instructions
- Preheat oven to 350°.
- Using a food processor, pulse the Nilla Wafers until they form fine crumbs. Transfer to a bowl and add the sugar, melted butter and cinnamon (optional).
- Mix well until the mixture resembles wet sand and keeps its shape when squeezed in your hand.
- Scoop the mixture into a 9" pie plate and press it in evenly, getting the sides even and then pressing the remaining crumbs into the bottom. You can use the back of a spoon, flat bottom of a measuring cup or even you hands.
- Bake in a preheated oven for 12-14 minutes, or until it becomes very lightly golden brown.
- Remove from the oven and cool completely before using. Enjoy!
Notes
- Freezer: wrap unbaked crust with plastic wrap and aluminum foil and store for up to 1 month in the freezer. To use, simply remove from the freezer, add your filling, and let it set up (or bake) as directed.
- For a no-bake version: rather than baking, freeze the crust for about 30 minutes. This method firms up the butter, allowing you to pour in your desired pie filling without it crumbling.
Nutrition
Did you make this?
Don’t forget to leave a rating below and make sure to follow on Pinterest, Instagram and Tiktok for more!
More No Bake Desserts That We Love!
- Cheesecake Strawberries
- Cookie Dough
- Chocolate Chip Cheesecake Dip
- Nutella No-Bake Cookies
- No-Bake Peanut Butter S’mores Cookie Bars
- No-Bake Peanut Butter Cornflake Cookies
- More No Bake Recipes
- More Dessert Recipes
This Nilla Wafer Pie Crust is a great alternative for holding all sorts of your favorite baked and no-bake pies and cheesecakes. It’s fun, tasty, and super easy to throw together.


I’ve not a lot of experience in these kind of crust so I had a couple issues that may be due to over baking, crust was pretty hard and the sides stuck.
But i must say even with all that this crust was delicious and i thank you for the recipe, will get more practice I’m sure
Thank you Judy
Thank you for this! My hubby is not a graham cracker fan and I am making a cheesecake for his birthday. This is EXACTLY what I was looking for.
My mother used this to make lemon ice box pie and, instead of pressing all the way up the sides, would only press into the bottom and use whole wafers to line the sides. So pretty and tasty too
That sounds amazing!
My Mom used to do the same thing! Thanks for bringing back a memory I had forgotten!
Brilliant AND delicious!! What a creative new pie crust recipe for me to use. Thanks!
I’m so happy to hear you loved it!
Such an easy crust idea and SO many delicious fillings would be great in it!
Yes, so easy! We love it with No Bake Cheesecake and Banana Cream Pie. The possibilities are endless!