
In this blog post, we’ll explore the art of baking yeast bread, from kneading the dough to watching it rise and finally, savoring and enjoying the results. Join us as we dive into the world of bread-making and unlock the secrets to creating delicious loaves that will delight your taste buds and nourish your soul.
With just a few basic ingredients – flour, water, yeast, and salt – you can perfect this timeless practice and fill your home with the comforting scent of homemade bread.
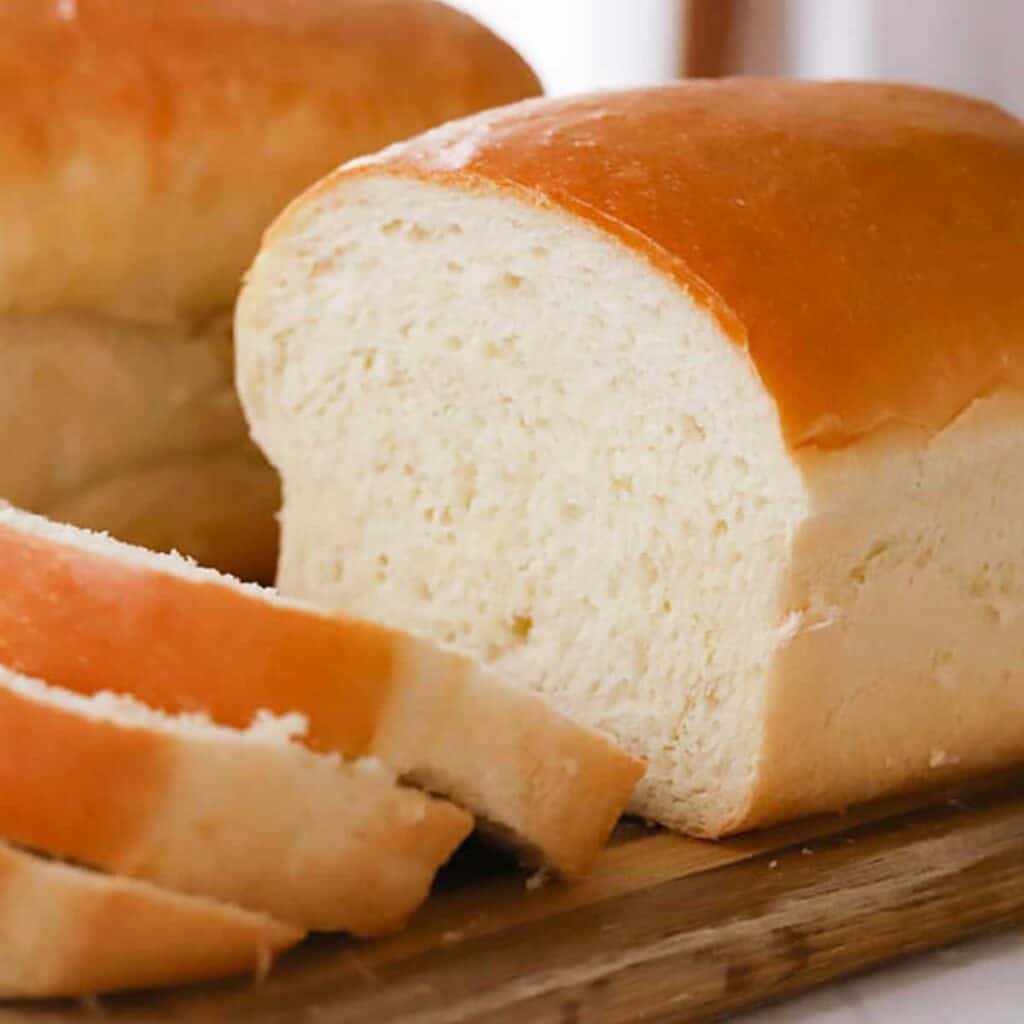
Homemade Yeast Bread
Baking bread is an act of love that has been passed down for generations in my family. The smell of freshly baked yeast bread is totally nostalgic and I have so many tender memories connected to the smell of fresh baked bread. It’s not just a job to do but it can be a really fun creative experiment that engages all your senses.
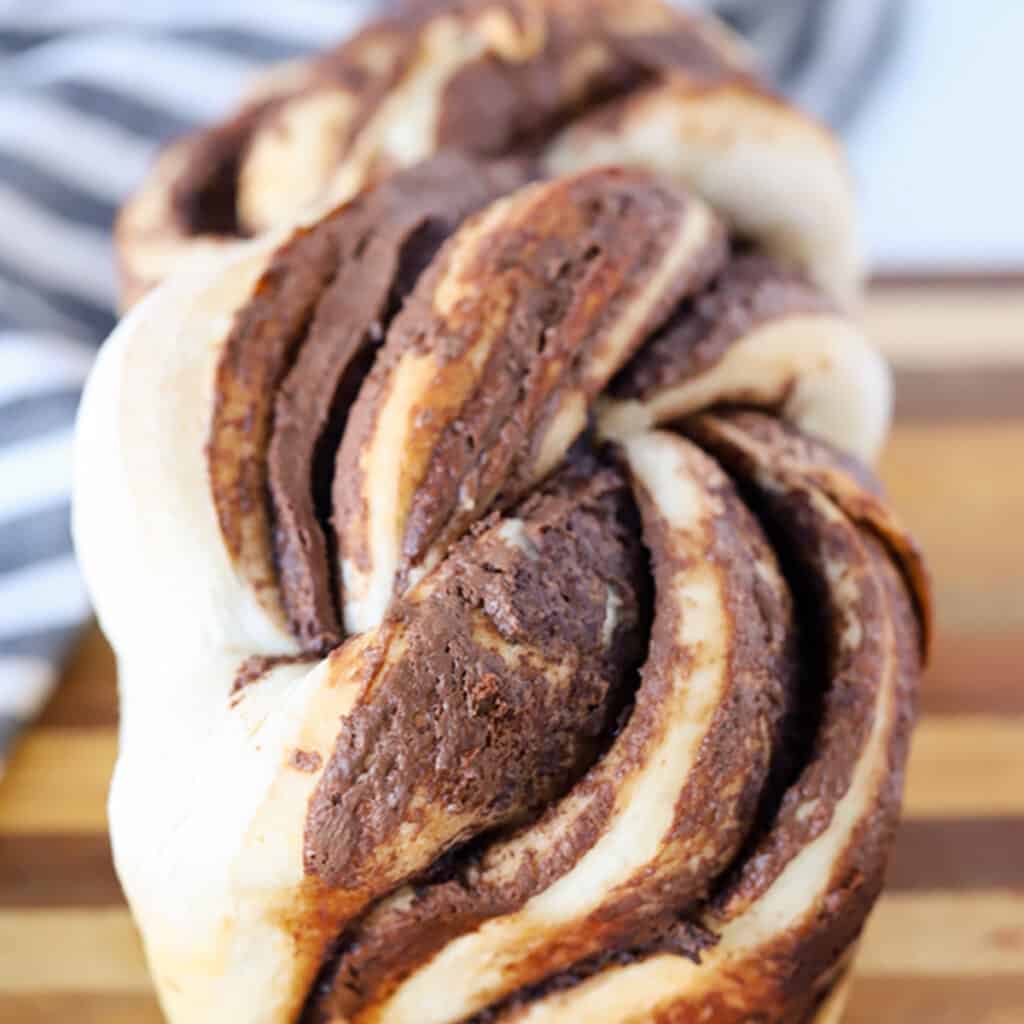
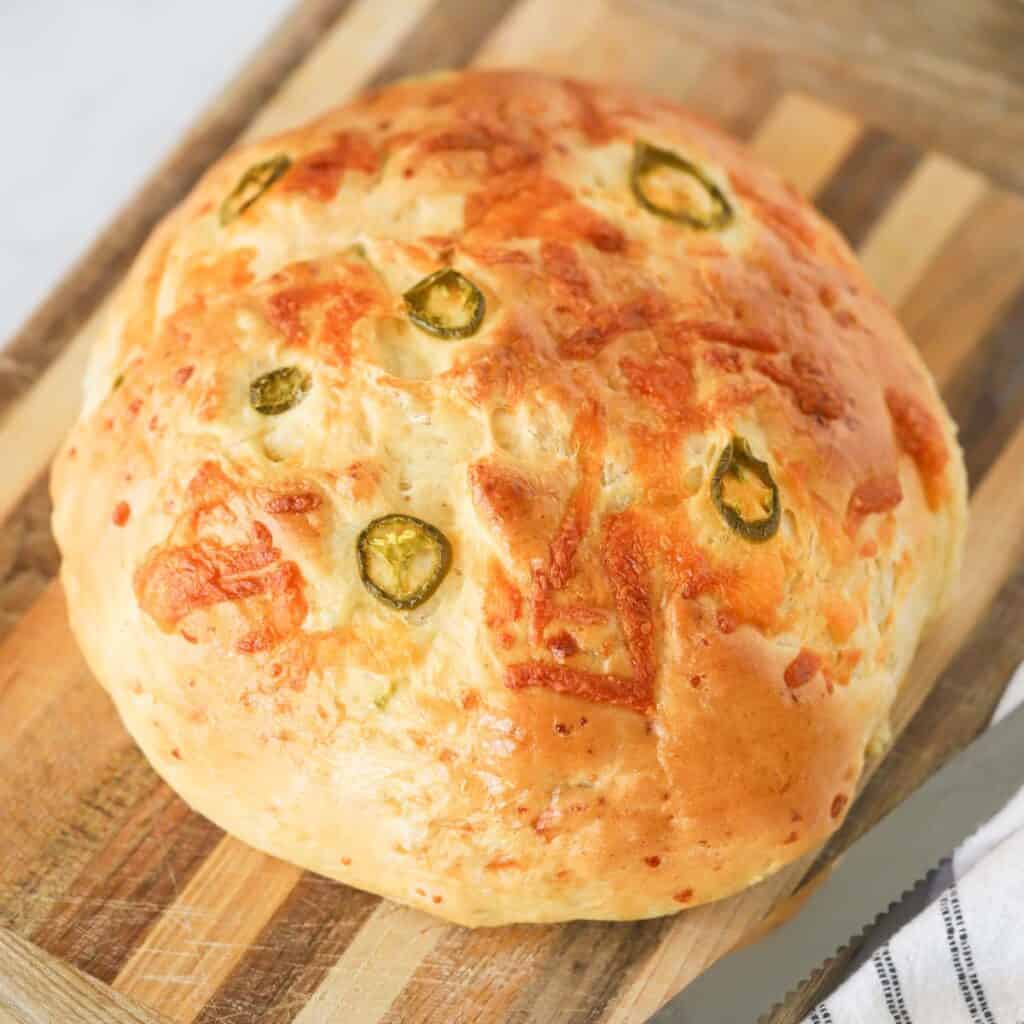
Whether you’re interested in baking the perfect loaf of white bread, whole wheat bread for a healthier touch, indulging in sweet treats like cinnamon rolls, or mastering the art of rustic cheese bread making, there’s a world of possibilities to inspire your baking experiments.
Trying out new flavors and techniques can help you on your journey to baking the perfect loaf of homemade bread. It really is so fun and rewarding to feed your family and all your neighbors a fresh loaf of bread. Follow along and I’ll help you know everything you need to make some homemade bread.
Different Types of Yeast for Baking
Yeast is truly a magical ingredient in the world of baking. It’s the secret behind that irresistible aroma, chewy texture, and delightful flavor of freshly baked bread.
But when a recipe calls for instant yeast, or active dry yeast, what exactly does it mean? I got you. The following are the three most common types of yeast used for baking:
Active Dry Yeast:
Active dry yeast is the most commonly used type of yeast in baking. It needs to be dissolved in warm water, around 110°F, to activate before being added to the dough. This process helps wake up the yeast and get it ready to work its magic in leavening the bread. Active dry yeast has a longer shelf life and is ideal for traditional bread recipes.
Instant Yeast:
Unlike active dry yeast, instant yeast can be added directly to the dry ingredients without needing to be dissolved in water first. It’s quick-acting and can shorten the rising time of the dough. Instant yeast is perfect for those who want to speed up the bread-making process without compromising on quality.
Fresh Yeast:
Fresh yeast, also known as cake yeast, is a moist form of yeast that is perishable and needs to be refrigerated. It has a shorter shelf life compared to dry yeast but is known for providing a superior-rise and flavor to the bread. Professional bakeries commonly use fresh yeast for its reliability in producing consistent results.
Common Yeast Bread Ingredients
To bake the perfect yeast bread, you need to pay attention to the key ingredients that go into making a delicious loaf.
Flour
Choosing the right type of flour is crucial when it comes to baking yeast bread. The type of flour you select impacts the gluten development in the dough, ultimately affecting the bread’s texture and rise. Experiment with different flours to find the one that suits your taste preferences.
- Bread flour, with its higher protein content, is ideal for yeast bread as it provides the necessary structure and chewiness to the final product.
- On the other hand, all-purpose flour can also be used, but the bread might turn out slightly lighter in texture.
Water
The temperature of the water used in your yeast bread recipe plays a significant role in activating the yeast. Water that is too hot can kill the yeast, while water that is too cold may not activate it effectively.
The optimal temperature for yeast activation is around 110-115°F (43-46°C). The right water temperature ensures that the yeast ferments and releases carbon dioxide, which creates the bubbles necessary for the dough to rise. Additionally, the water temperature influences the consistency of the dough, affecting how easily it can be kneaded and shaped.
Bread-Making Process
1. Proofing the Yeast
Proofing yeast is the process of activating the yeast to ensure it’s alive and ready to leaven the dough. The ideal temperature for proofing yeast is around 100°F, which is warm enough to wake up the yeast but not too hot to kill it. To check if the yeast is active, look for bubbles forming on the surface of the water and a yeasty aroma. Once the yeast is frothy and bubbly, it’s ready to be mixed into the dough to start the fermentation process.
Email This Recipe
Get a link to this recipe emailed so you can save it for later + get all the latest Carefree Kitchen recipes!
By submitting this form you consent to receive emails from The Carefree Kitchen
Yeast interacts with the sugars in the dough to produce carbon dioxide gas through fermentation. This gas gets trapped in the gluten of the dough, causing it to rise and create those airy pockets that give bread its light and fluffy texture. So next time you enjoy a slice of freshly baked bread, remember the magic of yeast that made it all possible.
To proof your yeast, add it to a bowl of warm water and a little sugar. It’s best if the water is around 110 degree F. If the water is much warmer than that, you run the risk of killing the yeast. 110 degrees should feel about like the temperature of your wrist. If you run the water over your wrist, it should not be warmer or cooler than your wrist temperature…think baby bottle temperature.
You will know the yeast is ready to be added to your mixing bowl when it is frothy and starts to foam and bubble.
2. Mixing the Bread Dough
After your yeast has been proofed, add the oil or butter to your yeast. If you are adding melted butter, be sure it is also about 110 degrees fairenheight. Cold butter will slow the process and too hot butter can kill the yeast, think skin tempreture again.
In your mixing bowl, add half of the flour, your salt, and any remaining sugar, honey or maple syrup, whatever you’re using for a sweetener. Add the yeast mixture and combine until the ingredients are combined and you have a very sticky dough mixture. Now you can add additional flour, a half cup to a cup at a time until you have a soft bread dough. It should be just slighly tacky.
If you’re making this in a stand mixer, you will add flour slowly until the dough pulls away from the sides of the mixing bowl while being kneaded with the dough hook.
3. Kneading the Dough
Mastering proper kneading techniques is key to achieving that perfect loaf of bread. When you knead the dough, you’re developing gluten, the protein that gives bread its structure and texture. The elasticity of the gluten network traps the gas produced by the yeast, allowing the dough to rise and create that coveted light and airy crumb. Whether kneading by hand for that tactile connection or using a stand mixer for convenience, remember to knead until the dough is smooth and elastic.
- If you’re using a stand mixer to knead your dough, be sure it has a dough hook attachment on. You can knead the dough on the lowest setting and cut the kneading time in half. (a machine will work much quicker than doing it by hand.)
- If you’re kneading the dough by hand, this is the good part. You can let all your aggression out and also get an arm workout! Kneading is a process of pushing, pulling and folding the dough. It works the gluten in the bread and gives it the chewy texture we all love. To knead the dough, take the heal of your hand and push the dough forward to stretch it, fold in half, turn a quarter turn and repeat. Keep kneading your dough until it is stretch and doesn’t tear. This should take about 10 minutes by hand or 5 minutes in a stand mixer with the dough hook, on the lowest setting.
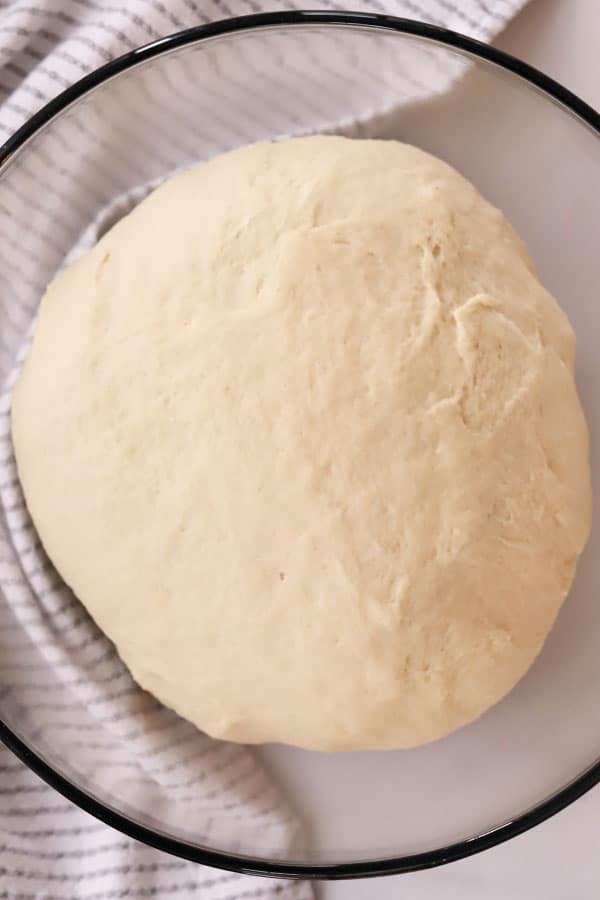
4. Let the Dough Rise
After kneading comes the crucial step of allowing the dough to rise. This resting period allows the yeast to ferment and the gluten to relax, leading to a lighter and more flavorful bread. Ensure the dough rises in a warm, draft-free environment until it doubles in size. Shaping the risen dough is equally important, as it determines the final appearance of the bread. Shape your dough according to the desired bread type, whether it’s traditional loaves, intricate braids, or cute dinner rolls.
You can speed up the rise time by about double by warming your oven to 120 degrees. Turn the oven off and then place your metal bowl in the oven, covered with a towel or non-stick spray covered plastic wrap. Let the bowl and the dough rise for about 5 minutes. Be careful not to leave your oven on and warm the dough against the bowl too much. You just want to create a really warm place for the dough to rise. You can also place the dough outside or by a warm window to speed up the rising process.
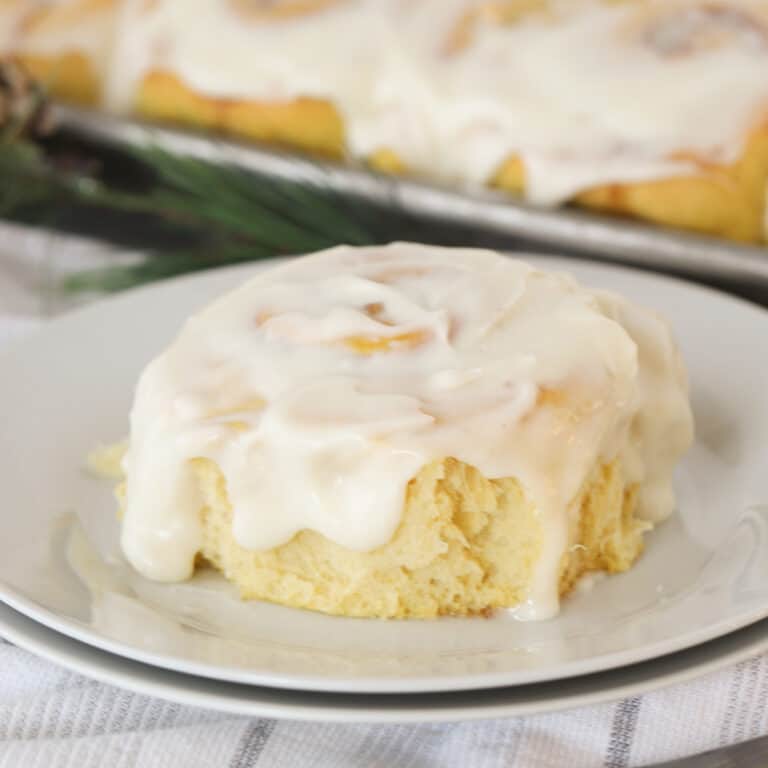
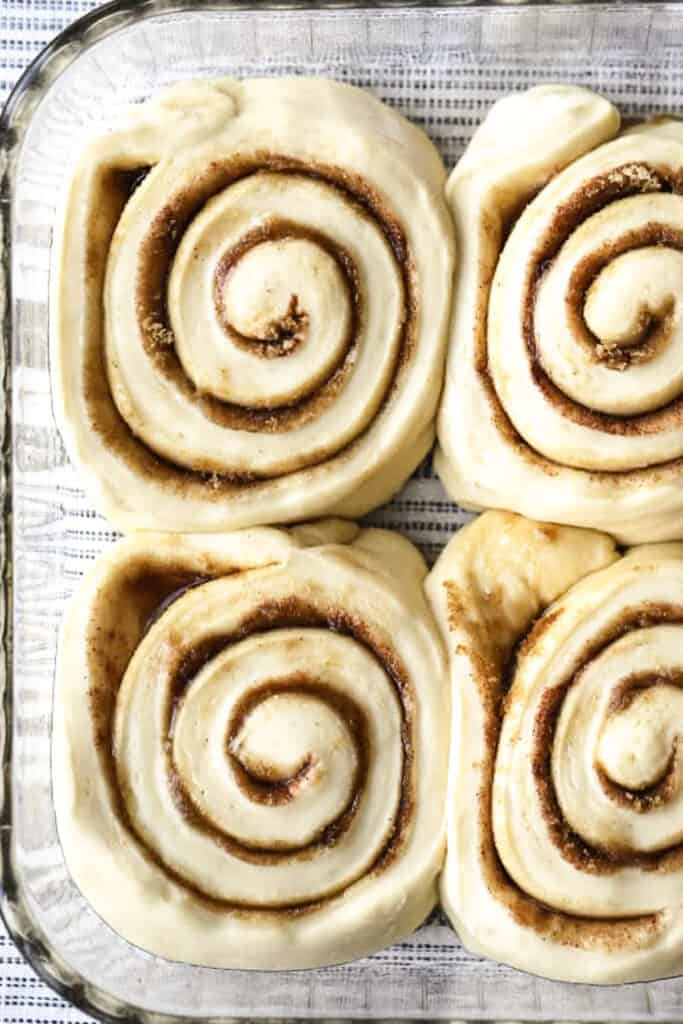
Alternatively, you can place the dough in the fridge to slow the rising process. You can make dough ahead of time, cover the bowl with plastic wrap and store overnight in the fridge. ( i like to make cinnamon rolls this way, prepare and roll out but don’t bake, and then place in the fridge overnight. In the morning you can take the cinnamon rolls out of the fridge, place them on the counter and preheat your oven. By the time the oven is pre-heated, your rolls aren’t as chilled and you can bake them right away. There is nothing like waking up to the smell of freshly baked cinnamon rolls.
5. Punch Down, Shape and Rise Again
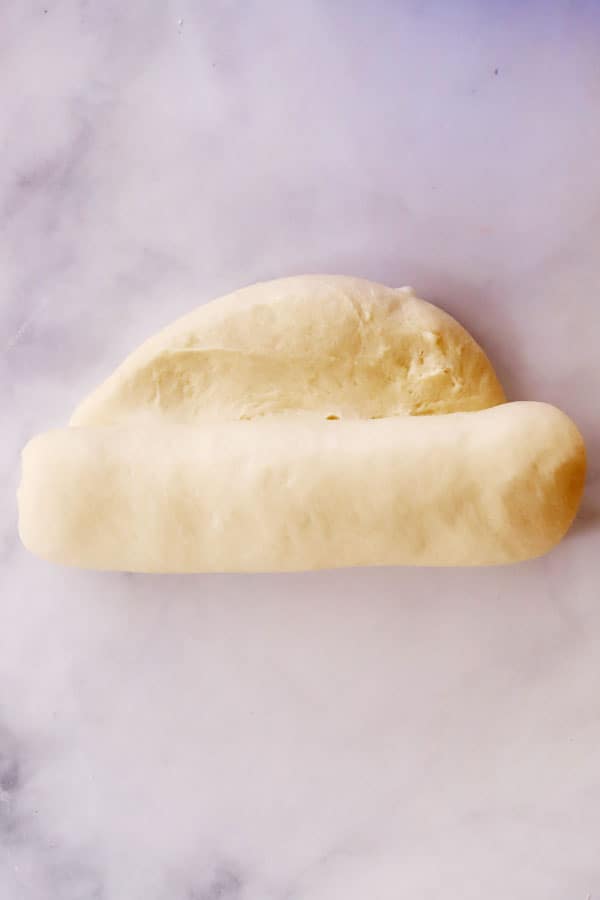
When your dough has risen double, punch it down to release the air, shape it, cover again and let it rise to your desired fluffiness.
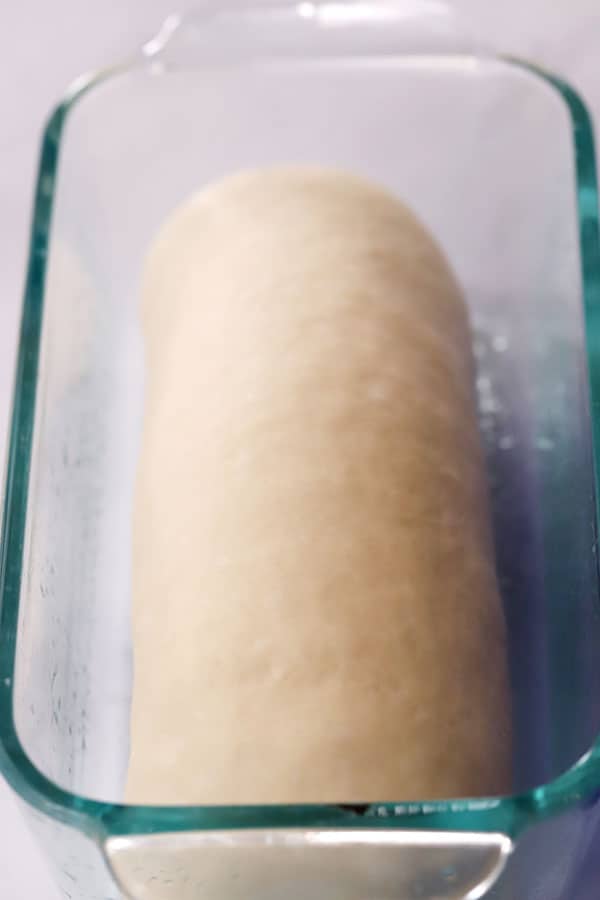
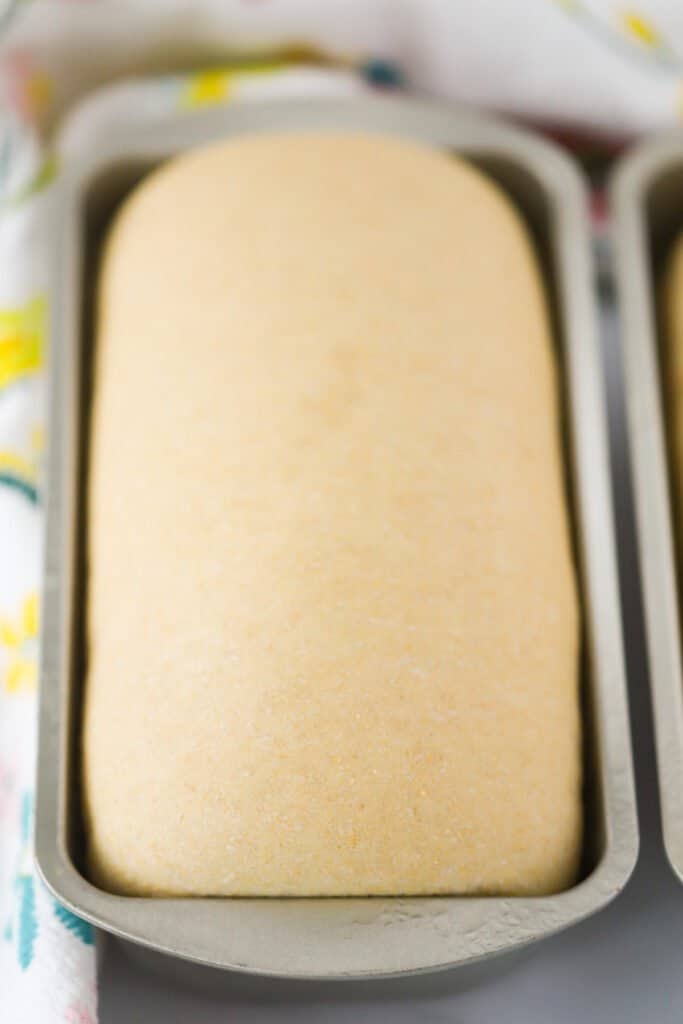
If you’re making bread, now is the time to equally divide the dough into 2 portions to shape into loaves. Shape the bread dough and place into two 9 by 5 inch loaf pans.
Now you can let it proof a second time, until the dough is double. Cover with a tea towel. The second proofing should take about 60-90 minutes. It may go faster if your dough was rising in a warm place.
6. How to Get a Perfect Golden Crust
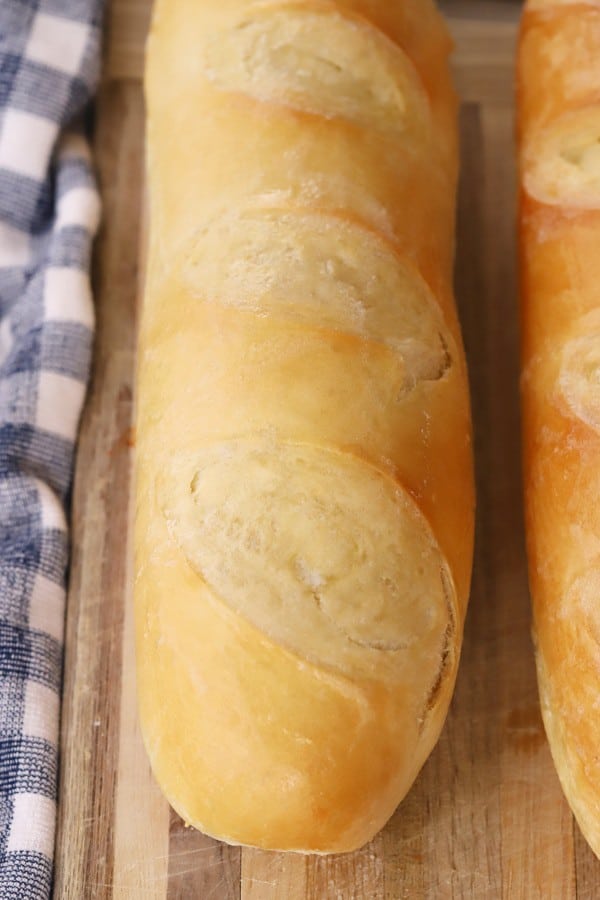
Depending on what type of crust you are looking for, you will need to add one last step before baking. If you want to have a golden, thicker crust, you can brush your dough with milk using a pastry brush before you bake it. You can also use a an egg, and a tablespoon of water, beat them together, and brush on your bread before baking. This is prefered with a french bread or white bread recipe. Even a wheat bread would benefit with a milk wash or an egg wash before baking.
If you’re wanting the crust to be extra thick, (this is preffered with french bread crust) you can spray your dough a couple times with the mist from a spray bottle right before cooking. If you don’t have a spray bottle handy, you can even add a few ice cubes to the bottom of the stove when you place the bread in the oven. The extra steam will healp create a thicker crust.
To get a golden and soft crust, do a milk or egg wash before cooking and then when the bread comes out of the oven, brush the top of the loaf with melted butter or spray with a mist of water from a spray bottle. This will make the crust nice and moist and chewy.
7. Baking
When the bread has grown a second time, place it in the oven and bake for 30 minutes or until the internal tempreture reads 200 degrees. Remove the pans from the oven and cool on wire racks. Remove the bread from the loaf pans when you can handle to bread without burning your hands. Continue to cool the bread on a wire rack. (or slice immediately and slather with soft butter, homemade jam, or honey butter)
Baking Tips
Creating the Perfect Crust
Right after you have baked your bread, you need to make a decicion on what type of crust you want on your bread, you can brush with melted butter for a butter crust. If you want a soft and chewy crust. Use a spray bottle and spray the top of the bread a few times. (Don’t make it soggy by over-spraying. There shouldn’t be any beads of water running on the crust). This will make the crust of your bread soft and tender. If you want a pretty stiff crust, just leave the crust alone after you have baked itl
To achieve bakery-worthy results, pay attention to the baking phase:
- Preheat your oven adequately to ensure even baking and a good rise.
- Before baking, make shallow cuts (scoring) on the dough’s surface to control its expansion and create an appealing shape.
- Introducing steam in the oven at the beginning of the baking process helps develop a crisp and glossy crust.
Oven Temperature
When baking bread, it’s best to experiment with your oven’s thermometer a little. I’ve had an oven that baked really hot and another one that was a little too cool. Usually somewhere between 350 degrees F and 325 degrees F, you can get a golden crust and baked throughout.
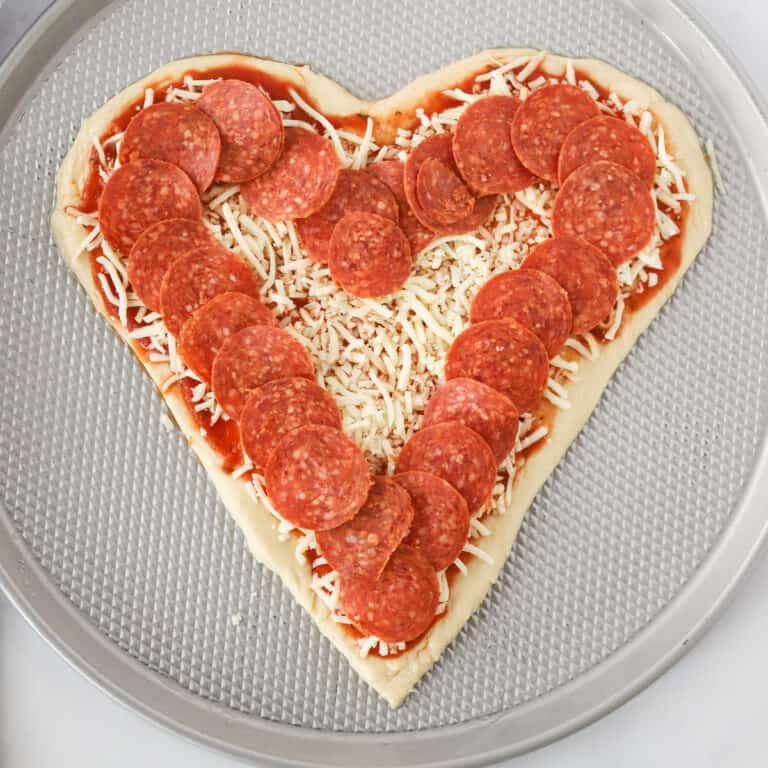
To get a crispy crust on something like a calzone or a pizza crust, bake at 400-425 degrees Fahrenheit. This way, you have a chewy and golden crust, perfect for homemade pizza.
Troubleshooting Common Bread Problems
Baking yeast bread can be a rewarding experience, but sometimes things don’t turn out as planned. Here are some common issues bakers may encounter and helpful tips to overcome them.
Why is my bread so dry?
If your bread is dry, chances are you over-baked it. It was in the oven for too long or maybe the temperature was too hot. Do your best to keep an eye on your bread the last few minutes it’s cooking and watch for these clues to get the perfectly baked bread.
- Give the top of your bread a little tap ( You should be able to do this with your fingernail without burning your finger). It should sound hollow.
- You can also use a thermometer to check the internal temperature of the center of your loaf. If the temperature reads 190ºC to 200ºC your bread should be ready.
- Your bread should be golden brown on the edges. You can genlty lift the bread away from the edge of the pan to see what color it is.
It’s also helpful to calibrate your oven’s tempreture. The instruction manual from your oven will help you do this.
If the tempreture of your oven seems a little off, you can also but an oven thermometer from amazon. It’s sits on the bottom rack of your oven so you can easily see the actual tempreture of your oven.
My bread is raw in the middle!
If this is the case, you didn’t bake your bread long enough or your oven was set too high or low. You really want to find out if your oven temperature is set to 350 degrees F, it really is 350 degrees F.
How Do You Know If Bread Is Kneaded Enough?
When you’re kneading it, it should turn to be really smooth, without bumps and tacky to the touch. You should be able to poke it with your finger and have it bounce back quickly. If it remains a dimple, continue to knead the dough.
If your dough isn’t kneaded enough, it won’t rise properly because it doesn’t have the strength and elasticity. Underkneaded dough is dense, dry and crumbly.
If your dough is overkneaded, will be dense and tough. It should have a springy texture. If this is the case, the dough will not rise properly resulting in a dense and heavy loaf.
What happens if my dough has risen too much?
When your dough has risen too much, it’s called overproofed. You can tell if your dough is overproofed if you poke it a little and it instantly springs back into place. If you bake your bread overproofed, it could collapse and crack. It’s best to knead lighly, re-shape your dough and prook it again. You can proof it for the second time and still end up with perfect bread. (This can be dissapointing if you’ve made cinnamon rolls so do your best to watch them or any yeast bread that has a more intricate shape andor filling. )
Bread Baking Supplies
- One of my favorite instruments to use when making bread is my stand mixer. It’s definitely helps but it’s not a must. Making bread by hand is cathartic.
- If you get into baking your own bread and see more of it in your future, a great serrated knife is a must.
- A bench scraper makes clean up and cutting the dough so much easier.
- Bread pans are a must and to get that perfectly cooked bread dough.
- Use a digital thermometer every time to make sure your bread is fully cooked.
Storing Homemade Bread
Once you’ve baked a delicious loaf of bread, knowing how to store it properly is key to maintaining its freshness and flavor.
- Room Temperature: To keep your bread tasting its best, store it in a paper bag or bread box at room temperature for up to a few days.
- Refrigerator: If you want to prolong its shelf life, store your bread in the fridge for up to 5 days.
- Freezing: or you can even freeze sliced bread in a resealable bag which can help preserve its texture. This makes it easy to thaw just a couple of slices at a time.